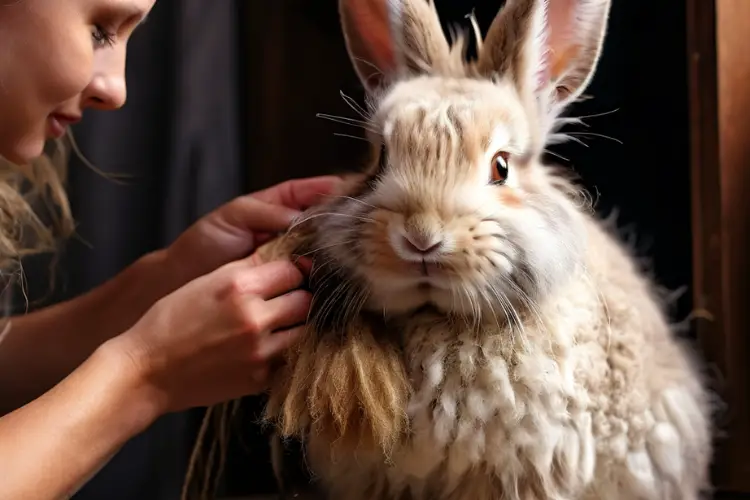
Angora rabbits are renowned for their incredibly soft and luxurious wool, which requires regular grooming to maintain its quality and prevent matting. However, one often overlooked aspect of grooming is ear cleaning.
Neglecting to clean your Angora rabbit’s ears can lead to various health issues, including ear infections, mites, and even hearing loss. In this blog post guide, we’ll explore the importance of ear cleaning, the tools and materials needed, and step-by-step techniques to ensure your fluffy companion’s ears remain clean and healthy.
Why is Ear Cleaning Important for Angora Rabbits?
Angora rabbits have a unique ear structure that makes them more susceptible to ear problems. Their ears are larger and more floppy than those of other rabbit breeds, creating a warm and moist environment that can harbor bacteria, fungi, and ear mites. Additionally, their dense wool can trap dirt, debris, and excess wax, leading to potential blockages and infections.
Regular ear cleaning helps to:
- Remove excess wax buildup
- Eliminate dirt, debris, and shed hair from the ear canal
- Prevent ear infections and mite infestations
- Promote better hearing and overall ear health
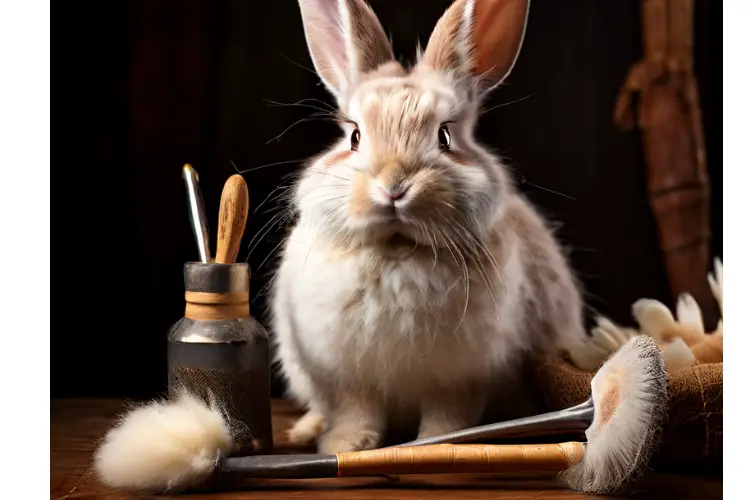
Tools and Materials Needed for Ear Cleaning
Before beginning the ear cleaning process, it’s essential to gather the necessary tools and materials. Here’s what you’ll need:
- Ear cleaning solution (preferably a vet-recommended solution or a gentle, non-irritating cleaner)
- Cotton balls or soft, lint-free cloths
- Tweezers (optional, for removing debris or matted hair)
- A towel or small blanket
- Treats or your rabbit’s favorite snack (for positive reinforcement)
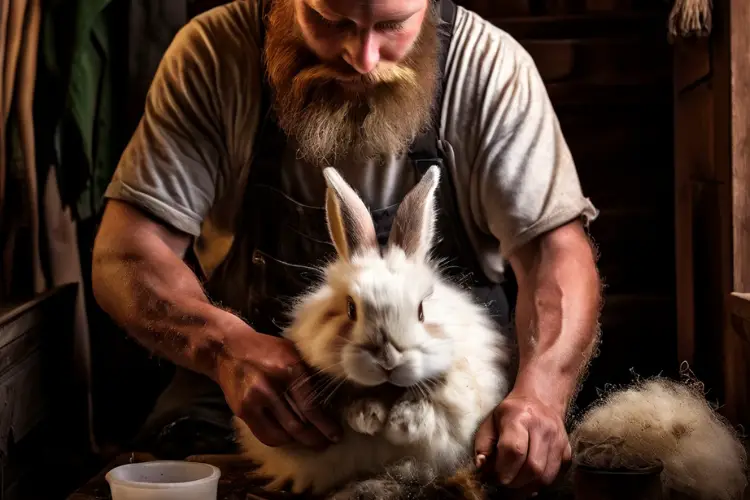
Step-by-Step Ear Cleaning Process
1. Prepare Your Rabbit
Start by creating a calm and comfortable environment for your Angora rabbit. Place a towel or small blanket on a flat surface, such as a table or the floor, and gently place your rabbit on it. Offer treats or their favorite snack to help them relax and associate the process with a positive experience.
2. Inspect the Ears
Before cleaning, carefully inspect your rabbit’s ears for any signs of irritation, redness, or discharge. If you notice any abnormalities, seek veterinary advice before proceeding with cleaning, as it could indicate an underlying issue that requires medical attention.
3. Apply the Ear Cleaning Solution
Gently fold back your rabbit’s ear to expose the ear canal. Using the ear cleaning solution, carefully apply a few drops into the ear canal. Avoid inserting anything deep into the ear canal, as this could cause injury or damage.
4. Massage the Ear Base
After applying the cleaning solution, gently massage the base of your rabbit’s ear for a few seconds. This action will help distribute the solution throughout the ear canal and loosen any debris or wax buildup.
5. Allow Your Rabbit to Shake
Once you’ve massaged the ear base, release your rabbit’s ear and allow them to shake their head. This natural reflex will help expel any excess solution, debris, and wax from the ear canal. Have a cotton ball or soft cloth ready to catch any discharged material.
6. Clean the Outer Ear
Using a clean cotton ball or soft cloth, gently wipe away any visible debris or discharge from the outer ear and ear canal opening. Be careful not to insert the cotton ball or cloth too deeply into the ear canal, as this could cause harm or push debris further into the ear.
7. Repeat on the Other Ear
Repeat the entire process on your rabbit’s other ear, following the same steps of applying the cleaning solution, massaging the ear base, allowing your rabbit to shake, and wiping away any visible debris or discharge.
8. Reward and Praise
Once both ears have been cleaned, reward your Angora rabbit with treats and plenty of praise. This positive reinforcement will help them associate ear cleaning with a pleasant experience, making future sessions easier and less stressful for both of you.
Tips for Successful Ear Cleaning
Here are some additional tips to ensure a smooth and effective ear cleaning process for your Angora rabbit:
- Be gentle and patient: Angora rabbits can be sensitive, and sudden movements or loud noises may startle them. Move slowly and speak softly to keep them calm.
- Start early: Introduce ear cleaning at a young age to help your rabbit become accustomed to the process.
- Use vet-recommended products: Consult with your veterinarian for recommended ear cleaning solutions or products specifically formulated for rabbits.
- Check for mites or infections: If you notice excessive debris, discharge, or signs of irritation, seek veterinary attention promptly to rule out ear mites or infections.
- Maintain a regular grooming routine: Ear cleaning should be part of your Angora rabbit’s overall grooming routine, typically performed every 4-6 weeks or as recommended by your veterinarian.
When to Seek Veterinary Assistance
While regular ear cleaning is essential for your Angora rabbit’s health, there are certain situations when you should seek veterinary assistance:
- If you notice signs of ear infection, such as redness, swelling, discharge, or your rabbit shaking or tilting their head frequently.
- If you suspect the presence of ear mites, which can cause excessive scratching, head shaking, and debris in the ear canal.
- If you encounter any resistance or discomfort during the cleaning process, as this could indicate an underlying issue.
- If you’re unsure about the proper technique or have concerns about your rabbit’s ear health.
Conclusion
Proper ear cleaning is an essential aspect of grooming for Angora rabbits, helping to maintain their overall ear health and prevent potential issues. By following the tips and techniques outlined in this guide, you can ensure a safe and effective ear cleaning routine for your fluffy companion.
Remember to be gentle, patient, and seek veterinary assistance if you encounter any concerns or abnormalities. With regular ear cleaning, you can help your Angora rabbit maintain their incredible soft wool and enjoy a happy, healthy life.
FAQs:
- Do Angora rabbits need their ears cleaned?
In most cases, healthy Angora rabbits can keep their ears clean themselves. However, due to their long fur, Angora ears might require occasional checks and gentle cleaning if debris or wax buildup is noticed.
- How often should I clean my Angora rabbit’s ears?
Routine cleaning usually isn’t necessary. Regularly inspect your rabbit’s ears for signs of infection or excessive wax buildup. If you notice anything unusual, consult your veterinarian.
- What are the signs that my Angora rabbit needs its ears cleaned?
Redness, swelling, crusting, tilting the head, or scratching at the ears are all potential signs of ear problems. If you notice any of these, consult your vet for proper diagnosis and treatment.
- What can I use to clean my Angora rabbit’s ears?
If cleaning is needed, never use cotton swabs or harsh chemicals. A vet-recommended ear cleaner and soft gauze are the safest options.
- How do I clean my Angora rabbit’s ears safely?
It’s recommended to seek a vet’s guidance for proper cleaning techniques. However, generally, it involves applying a small amount of cleaner to gauze and gently wiping the visible ear canal. Avoid inserting anything deep into the ear.